Today we spent the afternoon at Tate Modern doing fast location drawing of people. It had to be fast because, being in a public place, people kept moving so you didn’t have much time to capture them.
To start with, we had to just draw people’s faces. I found this really challenging at the beginning, particularly since I’m used to just doing the bare minimum to represent faces when drawing people. I ended up sitting near to an artwork that people would stand and look at for a while, which gave me a bit more time to draw them, and by the end I felt more confident with it. Here are my some of my drawings:
Then we had to draw scenes. By now I felt much more willing to quickly get something down and move on, and I was quite pleased with some of my drawings:
For my final storyboard, I didn’t feel confident in drawing 20-60 frames myself, so I decided to use photography instead.
After brainstorming the story, I found quite easy to write the final version with an inciting incident, climax and resolution.
I then decided to use pipecleaners to make simple puppets for my characters, and I made a set out cardboard and paper. I found it quite tricky to figure out how much detail I needed, particularly in the set. I considered printing off pictures to stick to the cardboard background, to create a backdrop, but worried this would limit the amount of angles I had available for photographing the panels.
For the panels, I photographed several angles and compositions so that I would have more than one option for putting it all together. By keeping the puppets/models simple, I could also reuse photographs to speed up the process.
I was pleased with this method of creating a storyboard because as well as reducing the amount of stress and time it would have taken to draw all the panels and compositions I wanted, it links to my main interest in stop motion. I found the process of composing close-up photographs of miniatures more challenging than I had anticipated, and I was glad to have the chance to develop that skill a bit further.
In our first storyboarding class, we discussed the purpose of a storyboard and the elements of visual literacy that form storyboard language:
We also went through the different elements that go into composing a frame, often known as ‘camera language’.
I feel like these are all things that I would notice and be effected by when watching any kind of animation or film, but often without noticing, which is suppose is the aim to an extent – that these elements add to the message and emotion of the work without being a distraction from the story.
I found during today’s class that storyboarding that things like camera angles, framing, composition, perspective etc are more part of the purpose of it than things like character or set design. I also discovered that these are not things that I find easy to communicate in drawing – at least not at the same speed as other people in the group. My attempt to draw someone knocking over a vase, with the vase falling towards the camera, was not very successful:
So when we were set our assignment in the second lesson of creating a storyboard, I felt pretty overwhelmed, but knowing I didn’t have to rely on drawing alone helped a lot. I think I might bring in things like collage or photos for my storyboard. One idea I’ve had is to make models of my characters and stage them, and then photograph them to make the compositions I want.
Later on in the class, we had to do a continuous line drawing of the whole room. I enjoyed this a lot more than the little one-panel storyboard drawing we did. I think that was because a continuous line drawing is expected to be messy and imperfect, so I relaxed more. I also know from previous studies that I enjoy working in this scruffy, unfinished style in my drawing:
Continuous line drawing of classroom
Wednesday 25th October
Today we talked about story and story structure:
We also looked closer at composition in a camera shot. We had a go at recreating shots from a film, focusing on shape and tone value:
I found I felt more confident with this as I went, although the results are still quite mixed in terms of how well you can see what is actually in the shot.
So our first problem on the afternoon of animating was that we hadn’t anticipated how long it would take to set up. While in the end it didn’t inhibit us too much, it’s useful to know for future projects that this can happen, and plan for more time needed at the start. Another thing I would do differently next time is maybe make the set, with the cardboard/tissue paper, beforehand, such as on the Friday. Even if it was just a rough estimate, it might have helped. But then again, part of what took so long with the setting up was getting the camera and the light right, which we couldn’t have done before our allotted time in the stop motion room. Going forward with future stop motion projects, however, I think I would plan out a time just for that phase of things, so I don’t feel rushed to get on with the animation the way we did today.
We also had a small communication problem with one member of the group, who had envisioned her 5-second sequence. as a more 2-dimenstional sequence that wasn’t possible with the setup we had planned for the rest of us. Adapting it took a bit of time, which also delayed the overall process, but she did so effectively. However, creating a version of the set on Friday before we got into the studio would have also probably avoided this problem, as we would have been able to communicate better how the whole piece was going to work.
I’m mostly very pleased with my sequence. It took a bit of time for me to sync it up with the sound, and it was a bit awkward having to ask the person capturing the frames to keep deleting them and redo them. This is an area where I often find it easier to work by myself than with others, when I have a very clear idea of what I’m trying to achieve and I know it would go smoother if I could do things myself instead of having to translate it to other people. However, I’m hoping with time this will get easier and I’ll be more confident in explaining what’s in my head.
Having someone else capturing the frames also made me feel like I had to work quickly, particularly since the whole thing was taking longer than we expected. Because of that, my green ‘log’ bobbing up and down on the lefthand side looks a bit odd, because I should have extended that for more than a couple of frames. If I’d had more time, or felt less pressure to get it done, I would have watched that back and redone it, or added on more frames before I moved on to the next bit.
For our group project, we chose the approach of dividing the sound into 4 sections of about 5 seconds, and then planning our own 5 seconds of animation separately. While it was clear that this will lead to a somewhat incohesive piece with a variety of different styles, I don’t think that’s a bad thing. The image we’re creating is of a sort of pond that has various things coming in and out of it, and I think it works to have all those things look and feel different from each other. It creates a kind of magical, fantasy feel to the piece, which is fun to do in stop motion, because you make things happen with real objects that you can’t in live action.
My 5-second section is not dissimilar to what I did on Monday, with a shape going in and out of the water, but this time it’s 3-dimensional. I didn’t intend for that to happen at the start, but it’s always interesting to build on previous ideas and see where else you can take them.
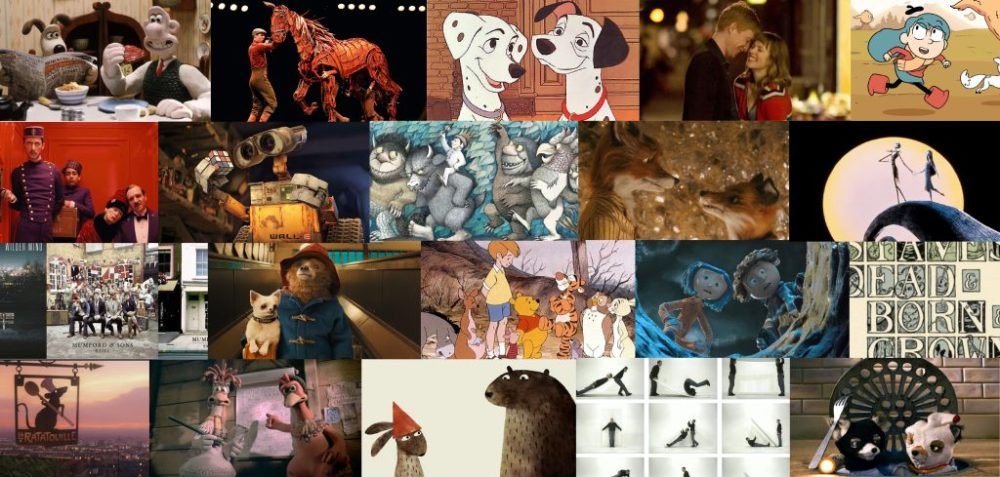
Peter Millard is an animation filmmaker who has a really fun, playful style. He uses simple shapes to form characters and his work is filled with silly humour and bizarre things happening. In my own work, I really want to use similar techniques to make things are funny and silly but still artistic